

Configuring your GoPro HERO Session
![Screenshot_2016-09-06-21-31-53[1].png](https://images.squarespace-cdn.com/content/v1/56d4eadd2fe131b4cc58c442/1473649400374-GTPE7F9N0RVR63XINFSQ/Screenshot_2016-09-06-21-31-53%5B1%5D.png)
We have used a GoPro Hero Session video camera with great success on our most recent near-space weather balloon flights.
The Session is a great near-space balloon video camera for several reasons. We chose the Session due to its compact size, lightweight form factor, and due to its waterproof design up to 33 ft, without the need for any external case (added weight and potential for fogging).
GoPro settings that we have used on past launches are documented below. To see a sample of the GoPro video we have captured using these settings, see our launch here: https://www.youtube.com/watch?v=-qNUDRwAlL0
Note: we typically record video using our GoPro Hero Session, while using other cameras to take higher resolution still pictures.
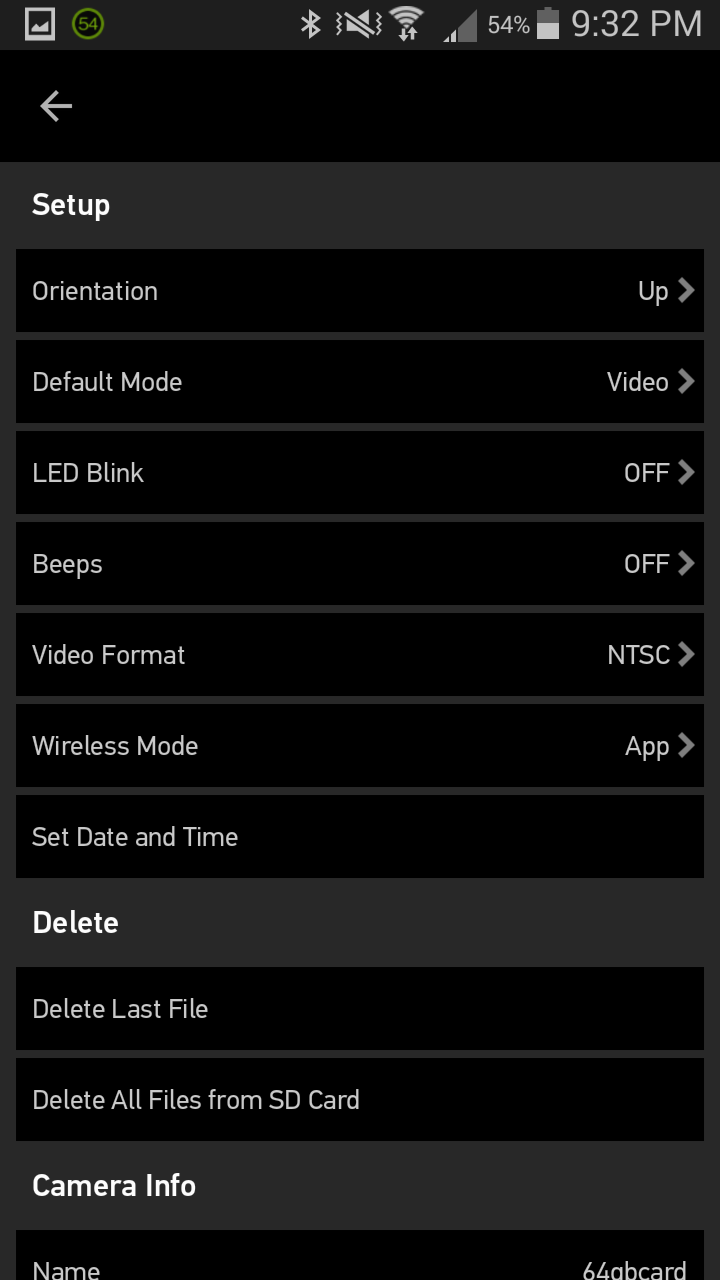
After connecting to the GoPro using the GoPro app, we use the following Configuration:
1) Resolution: 1080
2) FPS: 60
3) FOV: Wide
4) Low Light: Auto
5) Spot Meter (ON)
6) Protune (OFF)
7) Orientation: Auto (Up/Down)
8) LED Blink (Off)
9) Beeps (Off)
Explanation of some of the above settings:
3 - FOV: Caution when selecting Wide or Ultra Wide; per John Flaig's HAB photography guide, when using Wide or Ultra Wide "the horizon can appear to bend and bounce whenever the camera moves". It is possible to remove the fisheye effect during post-processing if you find that you prefer your clips without it.
4 - Low Light: This allows the camera (when at 48fps or above) to reduce the frame rate in low light conditions to achieve optimal exposure. We were OK sacrificing frame rate for better exposure with the variation of light that we expect to experience.
5 - Spot Meter: Similar to if you put the GoPro inside of your car, but wanted to have the exposure tuned to outside your windshield, select this if you can see the payload insulation at all around the edges of your camera frame to be sure it focuses on the lighting outside your box. It will only use the center of the frame to determine correct exposure settings when turned "ON".
6 - Protune: You can post-process to apply the Protune edits using GoPro studio after the fact, if you decide that you want to. We fly with this disabled by default.
7 - Orientation: We also prefer to set the correct orientation prior to the launch, instead of leaving it up to the accelerometer in the GoPro, so there is one less thing that can change on us during launch preparation. The orientation is locked once you start recording, so if you remember to hit "Record" when upright, this will prevent any need to edit in GoPro studio after the fact. We prefer to set it (correctly) and not have to worry about edits, but this may change depending on your particular mission.
8 - LED Blink: Turn the LED blink "OFF" to conserve every amount of battery capacity possible.
9 - Beeps: Note that we flew with the Beeps set to "OFF"; however, that is because we had our cell phone in our payload emit a beep noise every minute. This feature can be useful during recovery, when trying to locate your payload deep in the woods. The impact on battery life is likely minimal, but we looked to maximize battery life as much as possible.
Using Your GoPro for Still Photos
It should be noted that while a lot more information about the flight can be determined when looking at video (how stable your payload was, as well as other effects that can get lost in still photos), you do get higher resolution images using the "Time Lapse" setting of the GoPro vs. the video mode.
The default setting for time lapse is 0.5 second increments; however, you can vary this from 0.5 seconds to 60 seconds.
We recommend the default 8MP Ultra-Wide (3264 x 2448 resolution) setting for the highest quality image, while using a 10-15 second interval for Time Lapse. However, we typically use cameras (such as DSLRs) with much better sensors for capturing the best still images, and we leave our GoPros to capturing the video at 1920 x 1080 (1080p).
Recording GoPro Video While Charging
Also, remember that the GoPro Hero Session can record while charging. We use an Onite 5600mAh external battery booster (see most recent recommendation on our DIY Weather Balloon Kit and Products page) with a USB splitter cable to charge all our devices (GoPros, tracking cell phone) while in-flight.
To give you an idea of some of the impact of cold temperatures on battery life, we ran a quick test with the GoPro Hero Session running off a 100% charge, while not plugged in to an external power source.
Room Temperature Test
Settings: 1080p @ 60fps, LED/Beep = OFF, WiFi = ON, Initial temp = 21C, Room Temp = 21C
Results: Battery life lasted 98.0 minutes
Cold Temperature Test (-18C, Freezer)
Settings: 1080p @ 60fps, LED/Beep = OFF, WiFi = ON, Initial temp = 21C, Cold Temp = -18C
Results: Battery life lasted 58.3 minutes
Thus, we saw roughly a 40% decrease in battery life from the room temperature operation of our GoPro to a -18C operational test. While we expect in-flight conditions to not be quite as cold and harsh on the camera (it will be insulated more with only the external face exposed, and not as much convection cooling of air at higher altitudes due to the lower density), it is useful to know how the cold can negatively impact the battery life of your GoPro (or other electronic devices).
Disclaimer to our readers: Launch With Us, LLC is a participant in the Amazon Services LLC Associates Program, an affiliate advertising program designed to provide a means for sites to earn advertising fees by advertising and linking to amazon.com.