
For an overview of the Quick-Launch inflation system, please see the the blog post here. To order one, visit our Store. Note: We highly recommend preparing the balloon the night before your launch to save you time and hassle on launch day. You will have plenty of of other things to keep track of on launch day!
Balloon Preparation (Day Before the Launch):

Unpack all the materials to prepare the balloon inflation adapter.

Wearing gloves, to protect the weather balloon from the oils on your hands, remove the weather balloon from the bag and insert the quick-detach plastic nozzle PVC-end first, so that the button end will protrude from the balloon.

Secure the first zip tie on the upper half of the balloon adapter nozzle.

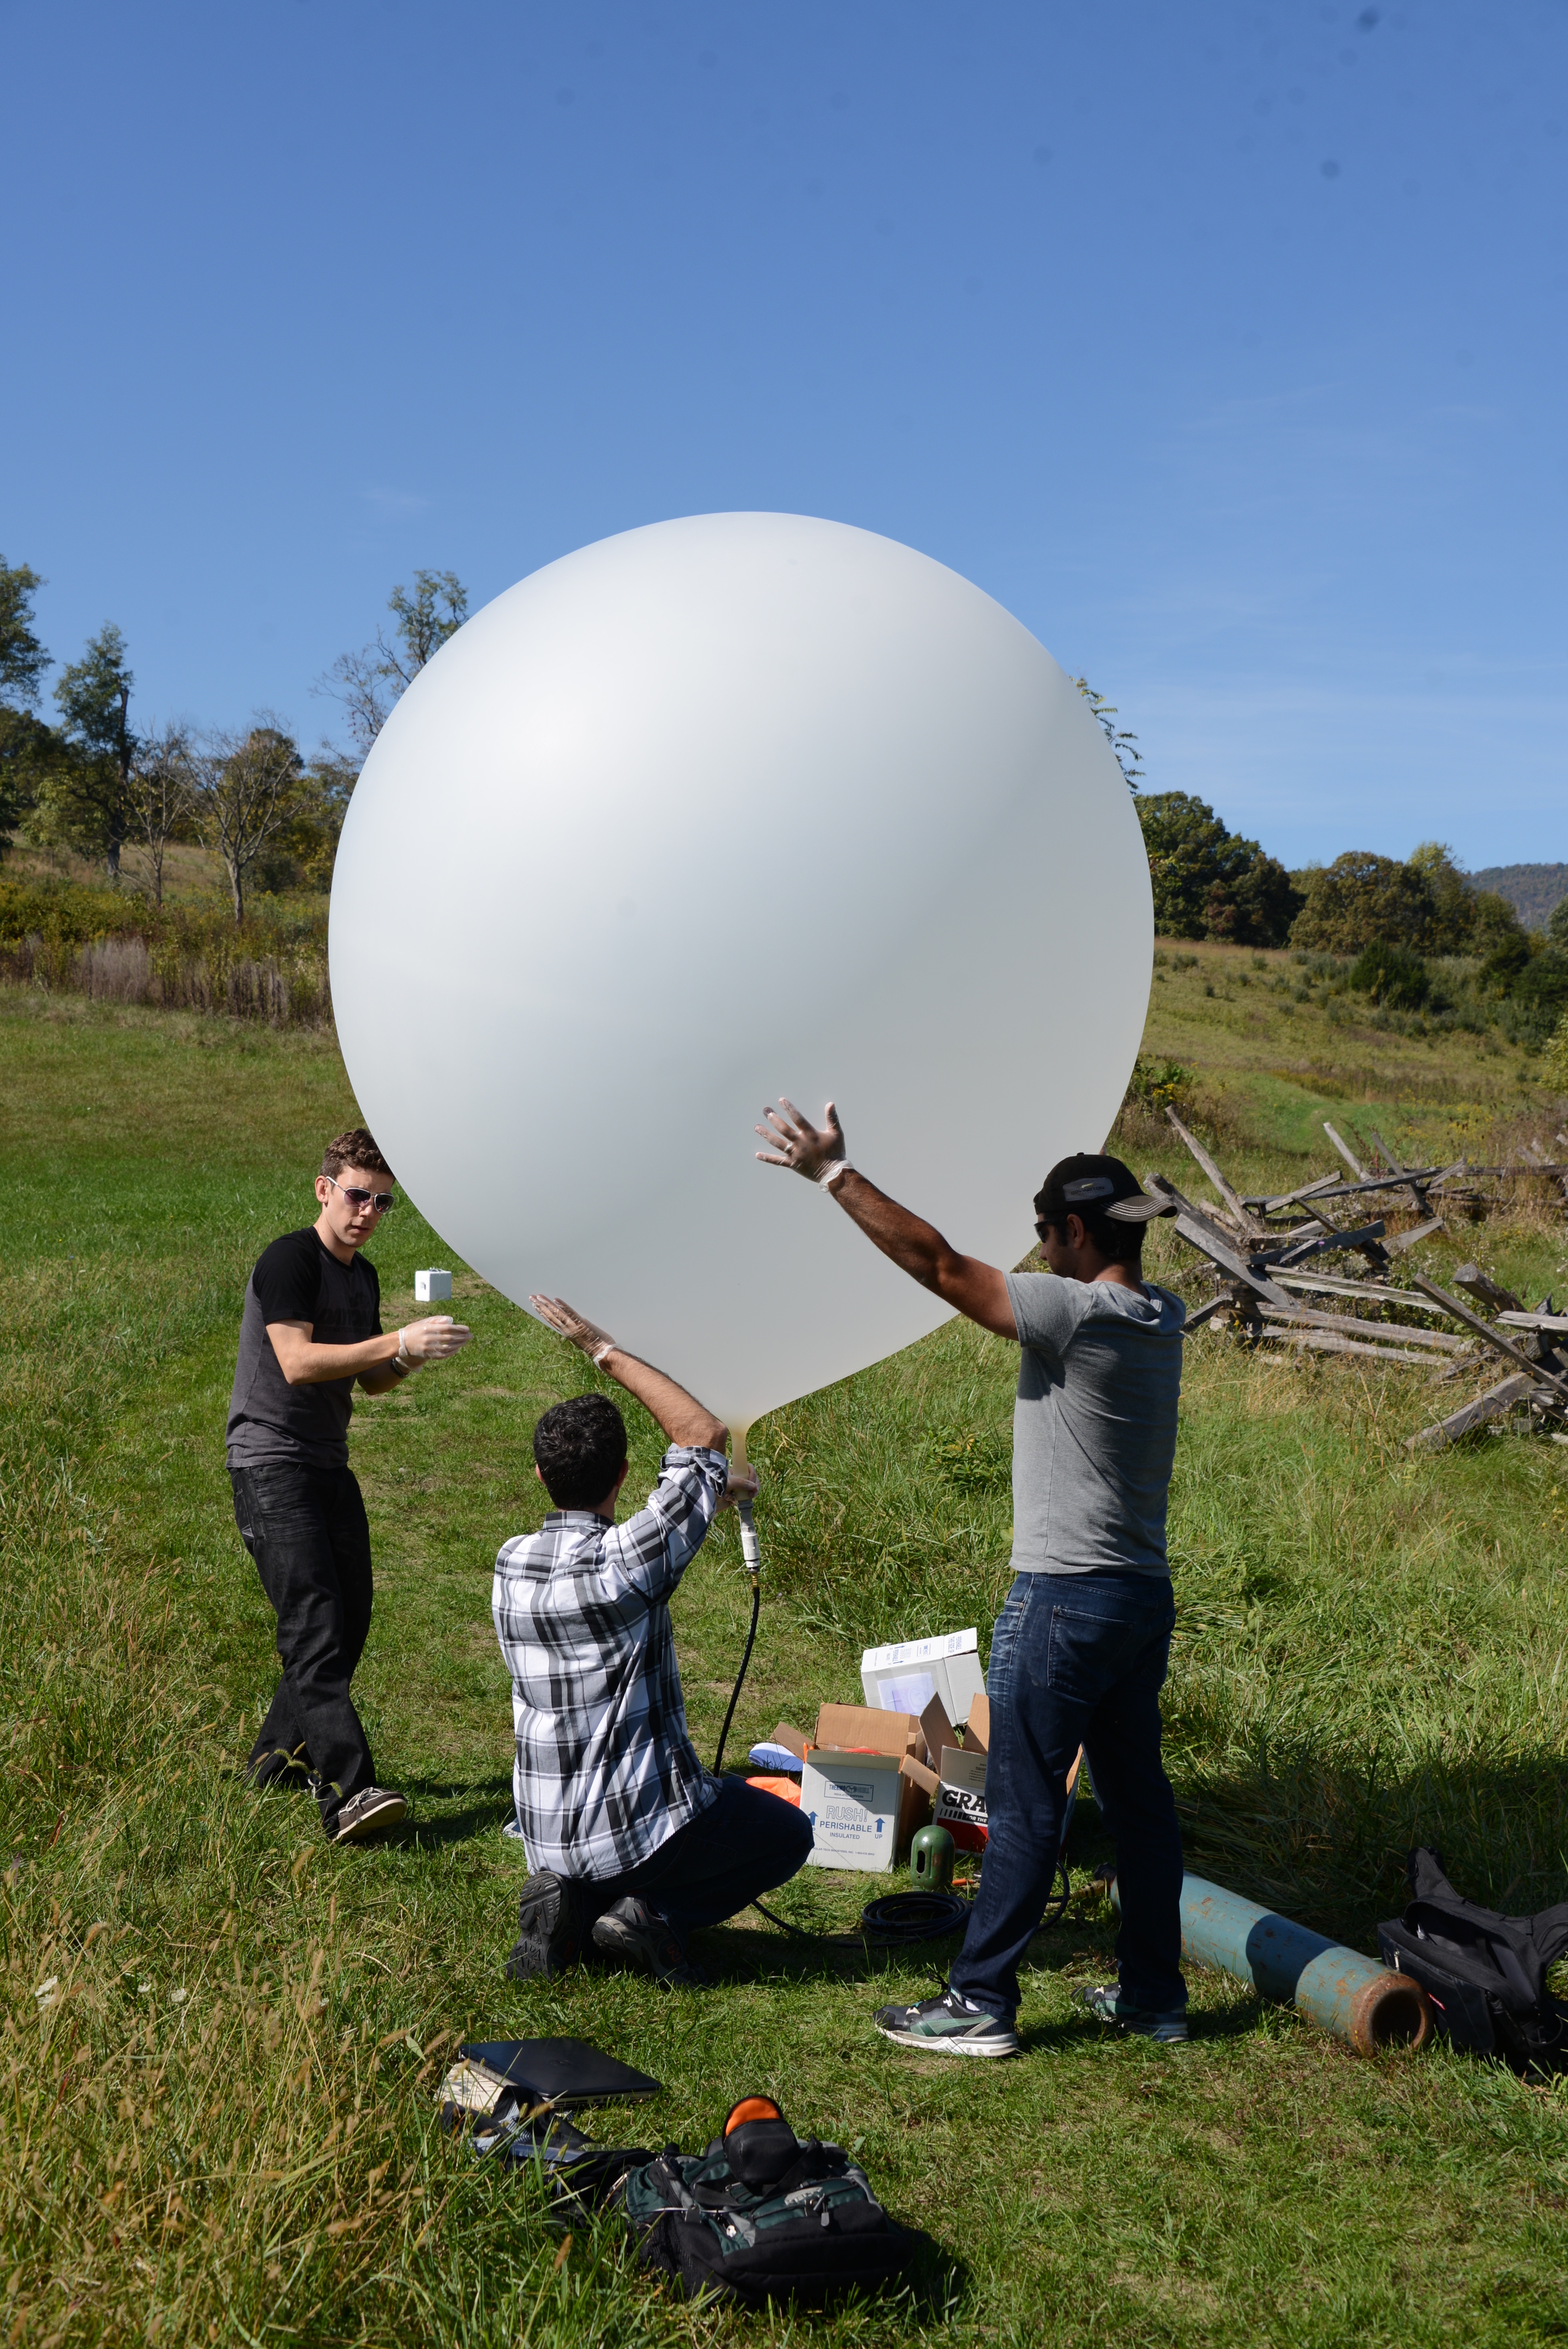
Securely attach the second zip tie on the lower half of the adapter as shown in the image, at the reduced diameter of the adapter.

After tightening down both zip ties, cut off the excess length.

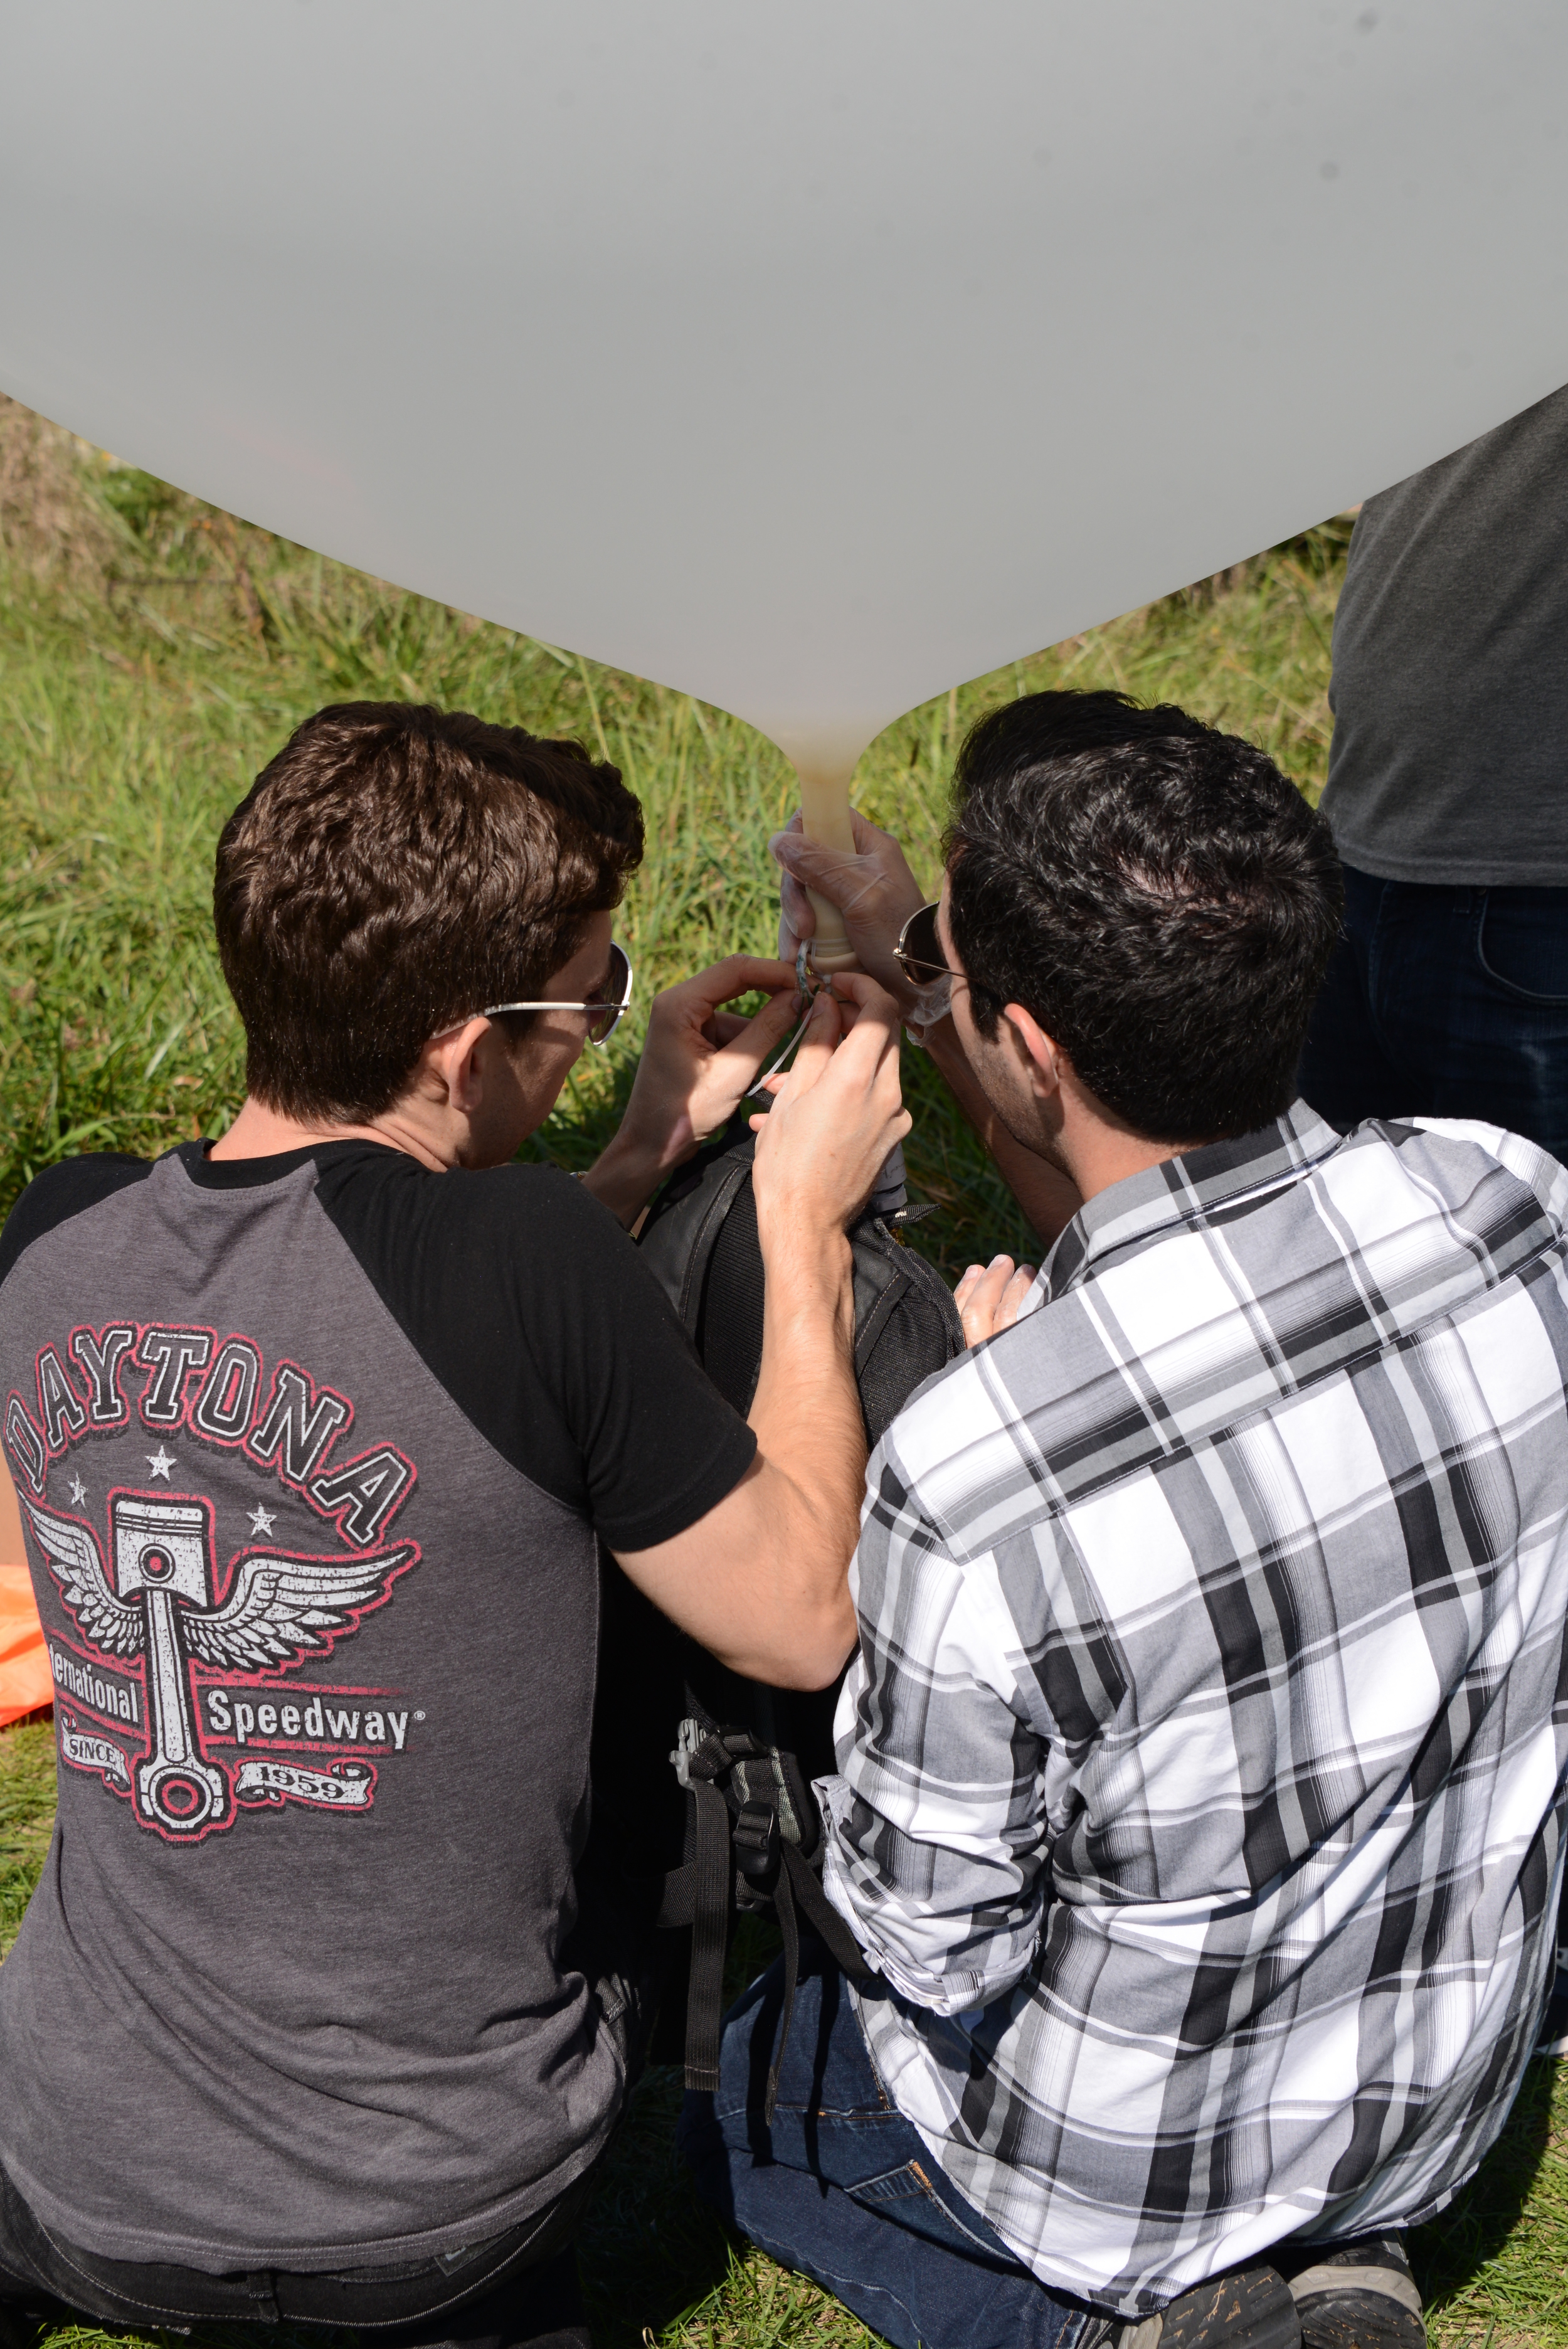
Make a 1″ loop with the clear zip tie and do not tighten down.

Put a red zip tie through the loop and secure to the middle of the balloon adapter.

Tighten the loop down, just above the upper zip tie.

Roll back the bottom of the weather balloon throat about one half of an inch.

Secure the fourth and final zip tie around the portion that was rolled back, being sure to capture the inside of the clear zip tie to secure it to the body in a second location.

Cut off all excess zip tie lengths.

Use electrical tape to wrap around the clipped off zip tie ends and cover the sharp edges.

The adapter is now ready to use! Plug in the quick-disconnect fill hose to the balloon to test the fit, and you are ready to fill on launch day. The clear zip-tie loop can be used with the fish-scale to measure the nozzle lift during filling. Simply detach the hose, measure the lift, and then re-attach when ready to continue filling.
Launch Day
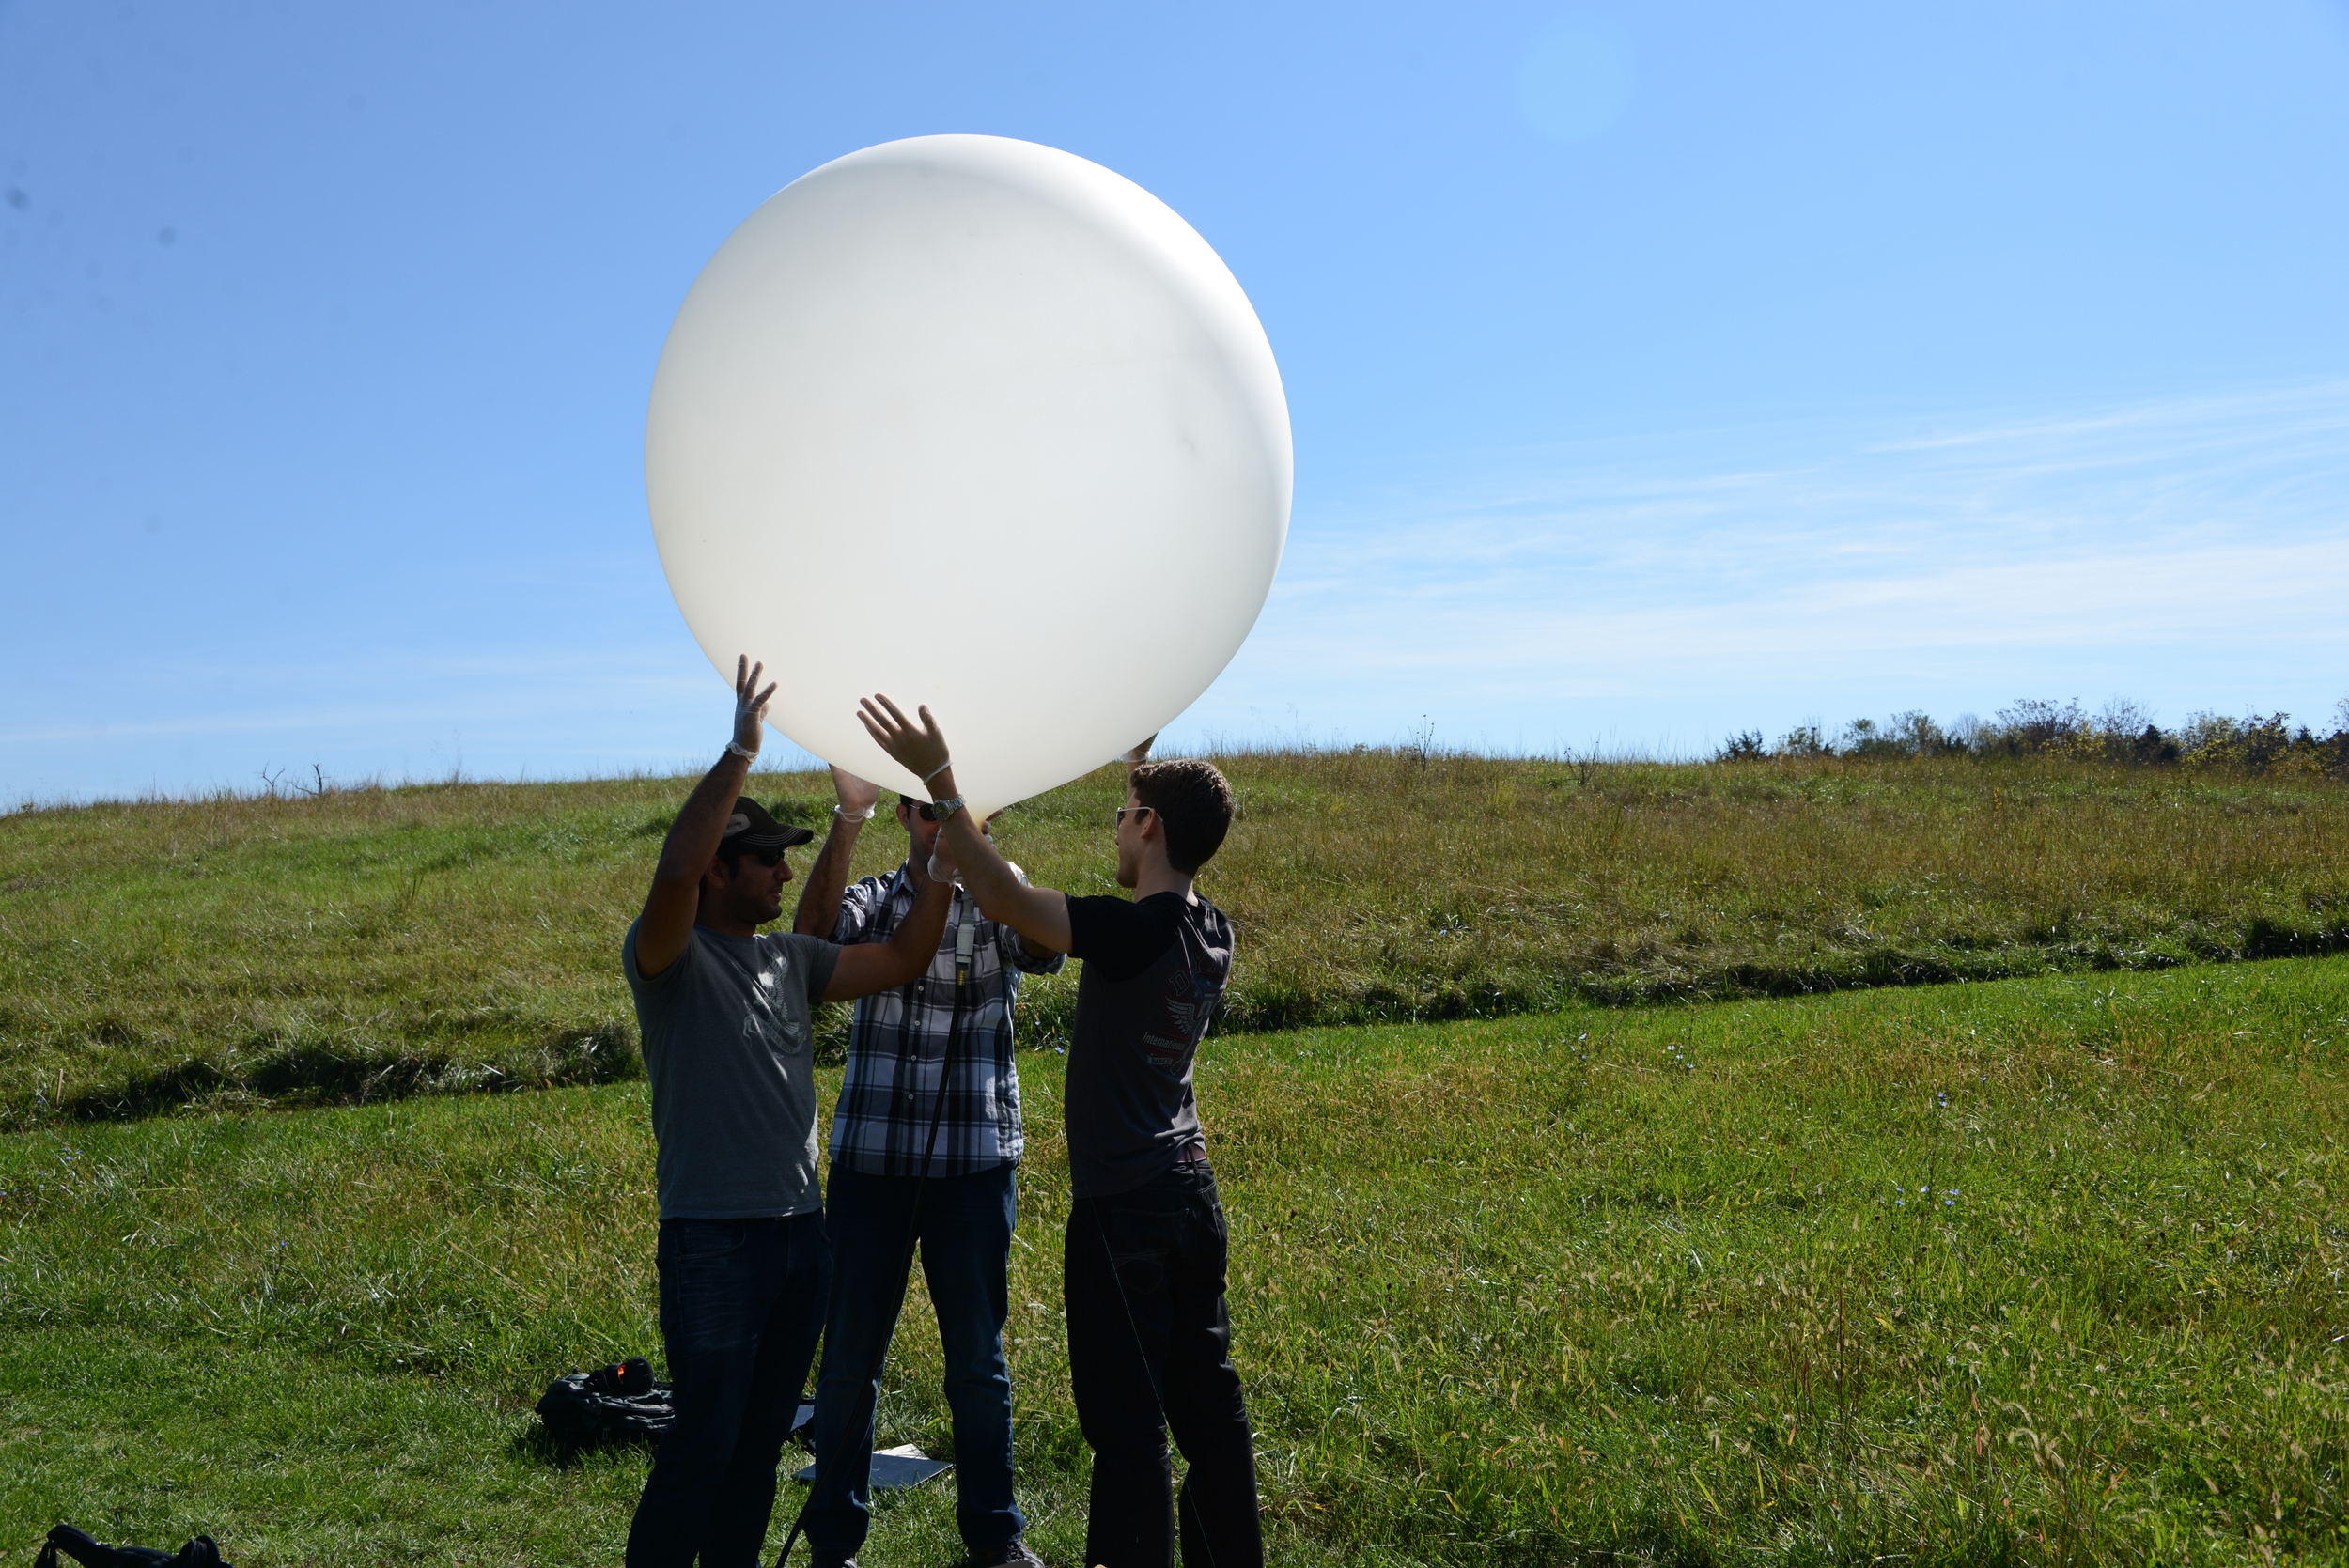
For filling on the day of the launch, be sure to bring the inflation hose (with regulator and fittings), your assembled balloon, gloves to wear during inflation, channel lock pliers, and most of all - friends to help out! Especially if it's a windy day, you will need the extra hands to stabilize the balloon during filling.
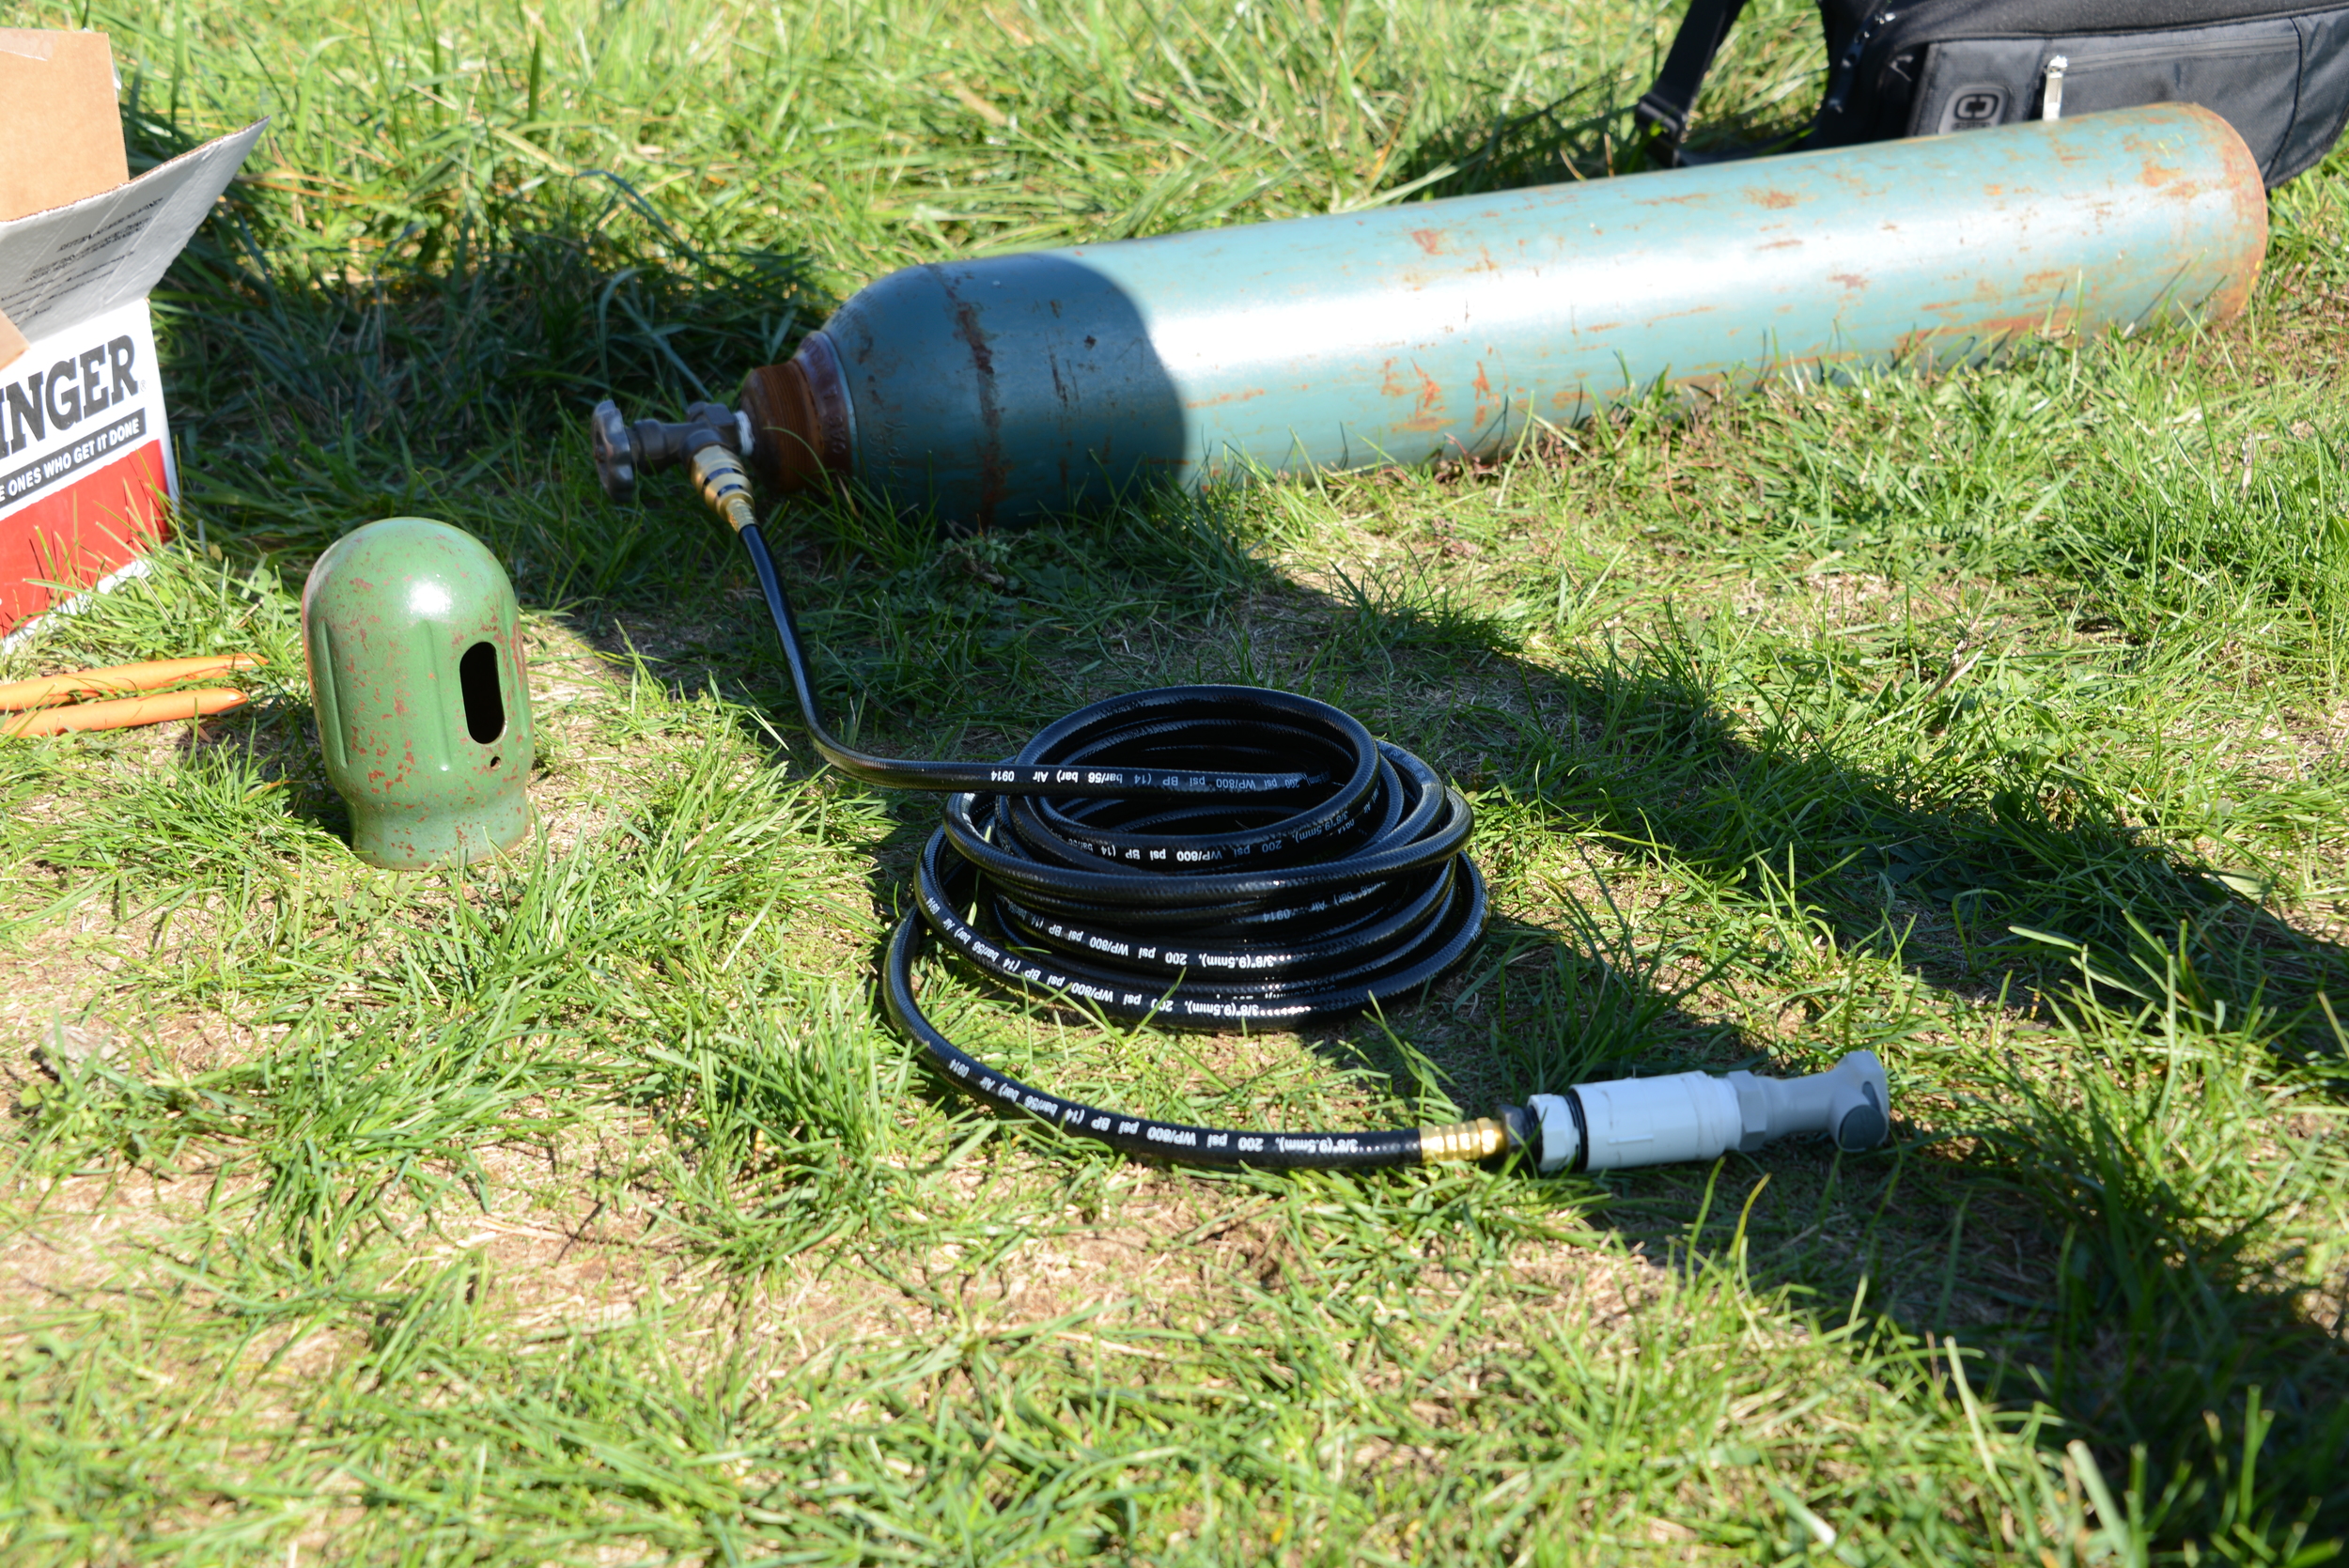
After ensuring that the regulator and the helium tank interfaces are clean of any dirt, screw the regulator into the helium tank. You can tighten as much as possible by hand, or we recommend a pair of channel lock pliers to finish tightening.
Once the regulator and hose are attached to the helium tank, perform a quick check by quickly opening the helium valve and listening to ensure that helium is coming out properly.
After the hose is attached to the tank and you perform the quick helium check, insert the hose into the balloon quick-disconnect adapter.

With someone holding near the balloon neck to make sure no twists form and someone holding the balloon, slowly open the helium valve until air starts filling the balloon.
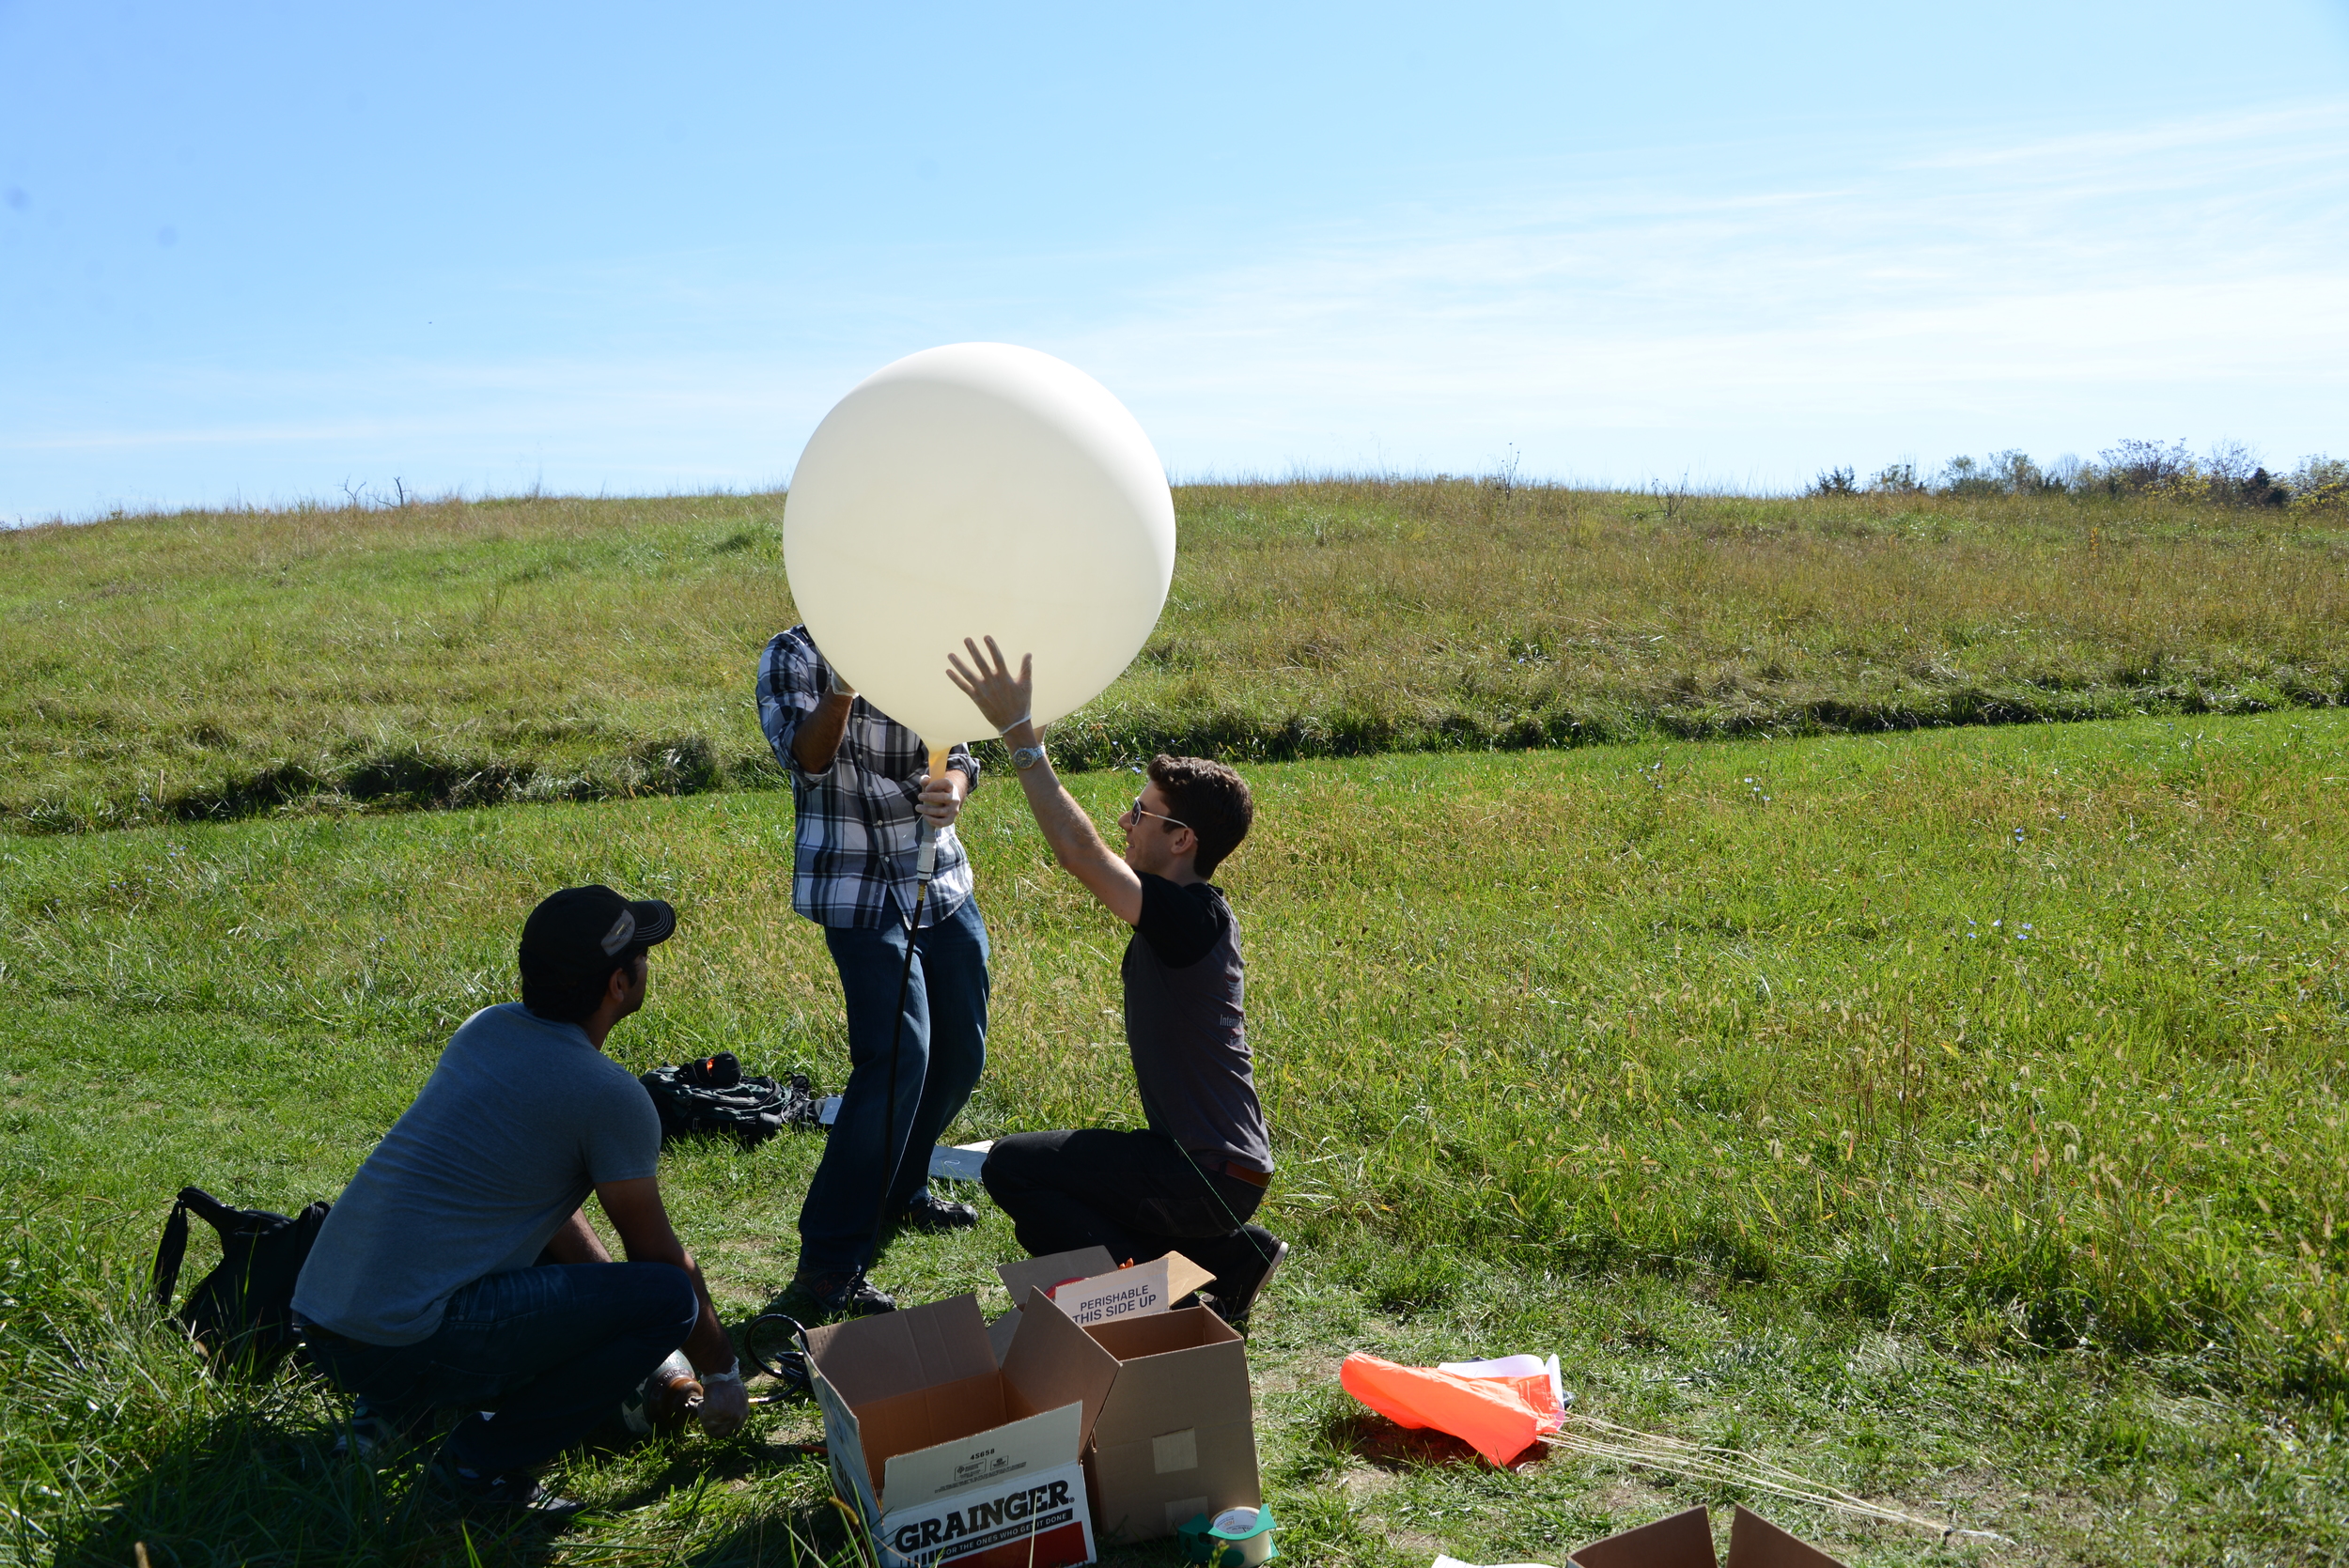
Once the balloon can support its own weight, you can open the helium valve to start filling a little faster, and guide the sides of the balloon so that it doesn’t blow around.
Using the zip-tie loop on the side of the neck, detach the hose by using the quick-disconnect to periodically measure the nozzle lift during inflation. Fill until your target lift is achieved.
Once the fill is complete. remove the hose, and it’s time to attach the payload!